Setting up Radiology for Ottehr
This documentation is designed for users who have successfully set up Ottehr. For more information please refer to the introduction.
Ottehr supports ordering, tracking status, and reviewing results for radiology workflows. The radiology module is designed to work with AdvaPACS (opens in a new tab), a cloud-native PACS system that provides DICOM storage and retrieval and features transparent transactional pricing.
This guide will walk you though setting up radiology with AdvaPACS.
Register and Configure your AdvaPACS Account
Register for an AdvaPACS account here (opens in a new tab).
Create an API key following this guide (opens in a new tab). Grant your API key full permissions to:
- FHIR API
- Viewers
In the Zambdas environment variables file set ADVAPACS_CLIENT_ID to the ID of your API key, and ADVAPACS_CLIENT_SECRET to the secret value of your API key.
Create a user called 'ehr-viewer' in AdvaPACS. This user will be used by Ottehr to view radiology images. The username is in the ADVAPACS_VIEWER_USERNAME environment variable.
Set up the AdvaPACS Webhooks
When orders or study reports change status in AdvaPACS, Ottehr needs to be notified. You must configure a webhook in the AdvaPACS FHIR API in order to send notifications to Ottehr.
AdvaPACS will send a POST request to a public Zambda Function with an authorization header containing a secret value you generate. The Zambda checks that this secret matches the one you set in the environment variable ADVAPACS_WEBHOOK_SECRET and then processes the request. So, generate your secret key and set it in the environment variable ADVAPACS_WEBHOOK_SECRET.
Make an API call to the AdvaPACS FHIR API using your API key to create a webhook for changes to ServiceRequest resources, replacing all four of the placeholders with your actual values:
curl --location 'https://usa1.api.integration.advapacs.com/fhir/Subscription' \
--header 'Authorization: ID=<ADVAPACS_CLIENT_ID>,Secret=<ADVAPACS_CLIENT_SECRET>' \
--header 'Content-Type: application/json' \
--data '{
  "resourceType": "Subscription",
  "status": "active",
  "reason": "ottehr webhook",
  "criteria": "ServiceRequest",
  "channel": {
    "type": "rest-hook",
    "endpoint": "https://project-api.zapehr.com/v1/zambda/radiology-pacs-webhook/execute-public",
    "payload": "application/fhir+json",
    "header": [
      "Authorization: Bearer <ADVAPACS_WEBHOOK_SECRET>",
      "x-oystehr-project-id: <your-project-id>"
    ]
  }
}'
Then do the same to get notifications for changes to DiagnosticReport resources,
curl --location 'https://usa1.api.integration.advapacs.com/fhir/Subscription' \
--header 'Authorization: ID=<ADVAPACS_CLIENT_ID>,Secret=<ADVAPACS_CLIENT_SECRET>' \
--header 'Content-Type: application/json' \
--data '{
  "resourceType": "Subscription",
  "status": "active",
  "reason": "ottehr webhook",
  "criteria": "DiagnosticReport",
  "channel": {
    "type": "rest-hook",
    "endpoint": "https://project-api.zapehr.com/v1/zambda/radiology-pacs-webhook/execute-public",
    "payload": "application/fhir+json",
    "header": [
      "Authorization: Bearer <ADVAPACS_WEBHOOK_SECRET>",
      "x-oystehr-project-id: <your-project-id>"
    ]
  }
}'
And finally, do the same to get notifications for changes to ImagingStudy resources,
curl --location 'https://usa1.api.integration.advapacs.com/fhir/Subscription' \
--header 'Authorization: ID=<ADVAPACS_CLIENT_ID>,Secret=<ADVAPACS_CLIENT_SECRET>' \
--header 'Content-Type: application/json' \
--data '{
  "resourceType": "Subscription",
  "status": "active",
  "reason": "ottehr webhook",
  "criteria": "ImagingStudy",
  "channel": {
    "type": "rest-hook",
    "endpoint": "https://project-api.zapehr.com/v1/zambda/radiology-pacs-webhook/execute-public",
    "payload": "application/fhir+json",
    "header": [
      "Authorization: Bearer <ADVAPACS_WEBHOOK_SECRET>",
      "x-oystehr-project-id: <your-project-id>"
    ]
  }
}'
Note: If you are using a different AdvaPACS region, update the usa1 with a different region code in the cURL requests.
The ServiceRequest resource represents radiology orders, while the DiagnosticReport resource represents the written report of the radiology study. ImagingStudy resources provide details of the DICOM study that was performed.
Configure AdvaPACS Assigning Authorities
Assigning Authorities enable AdvaPACS to correctly understand the source of identifiers in the FHIR resources it receives from Ottehr. In your AdvaPACS account, navigate to /Admin/Settings/AssigningAuthorities. You must configure four of these:
| Type | Namespace ID | Universal Entity ID | Universal Entity Type ID | FHIR System |
|---|---|---|---|---|
| FILL | fhir.ottehr.com | https://fhir.ottehr.com/Identifier/filler-order-number (opens in a new tab) | ||
| PLAC | fhir.ottehr.com | https://fhir.ottehr.com/Identifier/placer-order-number (opens in a new tab) | ||
| ACSN | fhir.ottehr.com | https://fhir.ottehr.com/Identifier/accession-number (opens in a new tab) | ||
| PN | fhir.ottehr.com | https://fhir.ottehr.com/Identifier/person-uuid (opens in a new tab) |
You can search in the Ottehr codebase on the FHIR System values to see how they are used. If you are using your AdvaPACS account with many instances of Ottehr, use different Namespace ID / FHIR System values for each instance to avoid conflicts.
Configure AdvaPACS Locations
If you have modalities at more than one location and wish for the modality worklist to render only studies from a particular location, you can configure Locations in AdvaPACS. In AdvaPACS, navigate to Configuration -> Organisations to set up Organizations and Locations. Then, in Ottehr, put the UUID of each Location onto the schedule-owner FHIR resources as an identifier with the appropriate system. See Ottehr Locations configuration for more details.
Set up the AdvaPACS Worklist
The AdvaPACS worklist provides a configurable workflow for managing radiology orders after they have been performed. You can configure any number of steps in the worklist, and roles for who can do what at each step.
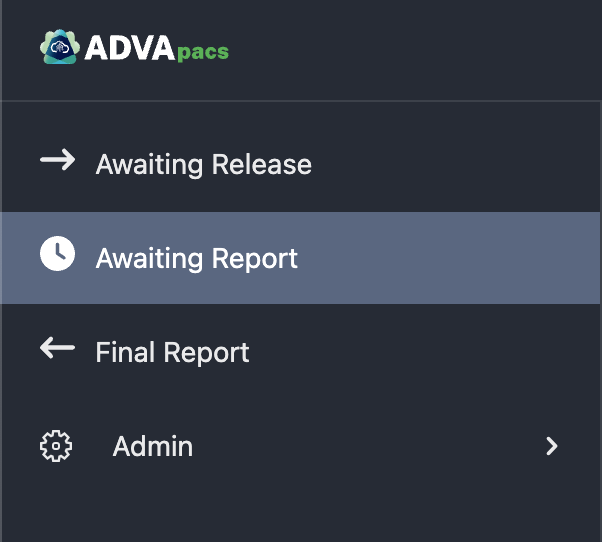
For example, you can use a workflow like this one:
- Awaiting Release — Users with the appropriate role provide a preliminary read of the study.
- Awaiting Report — Studies which are awaiting a final report from a certified radiologist are listed here.
- Final Report — Studies which have a final report from the radiologist are listed here.
You can configure these independently, or reach out to the AdvaPACS support team (opens in a new tab) and they will help you configure the right worklist for your needs.
Configuring AdvaPACS with your Modalities and Other PACS Systems
AdvaPACS can be configured to talk to any number of modalities and PACS systems. While there are docs on how to do this in the AdvaPACS documentation (opens in a new tab), you can also reach out to the AdvaPACS support team and they will help you configure your modalities and PACS systems.
Some configurations require setting up a server to run the AdvaPACS Gateway software that can communicate with the modalities and then send the DICOM data to AdvaPACS. This server will need to be able to communicate with both your modalities and the AdvaPACS cloud service. For example, you might use an AWS EC2 instance to run the gateway software and configure a VPN connection to your local network where the modalities are located.