Developers
Developer accounts are used to log into the Developer Console (opens in a new tab) and administrate Projects. When you sign up for a Oystehr account (opens in a new tab), you receive a password reset email and become the first Developer in a new Project. As the first Developer in your Project, you are granted full permissions.
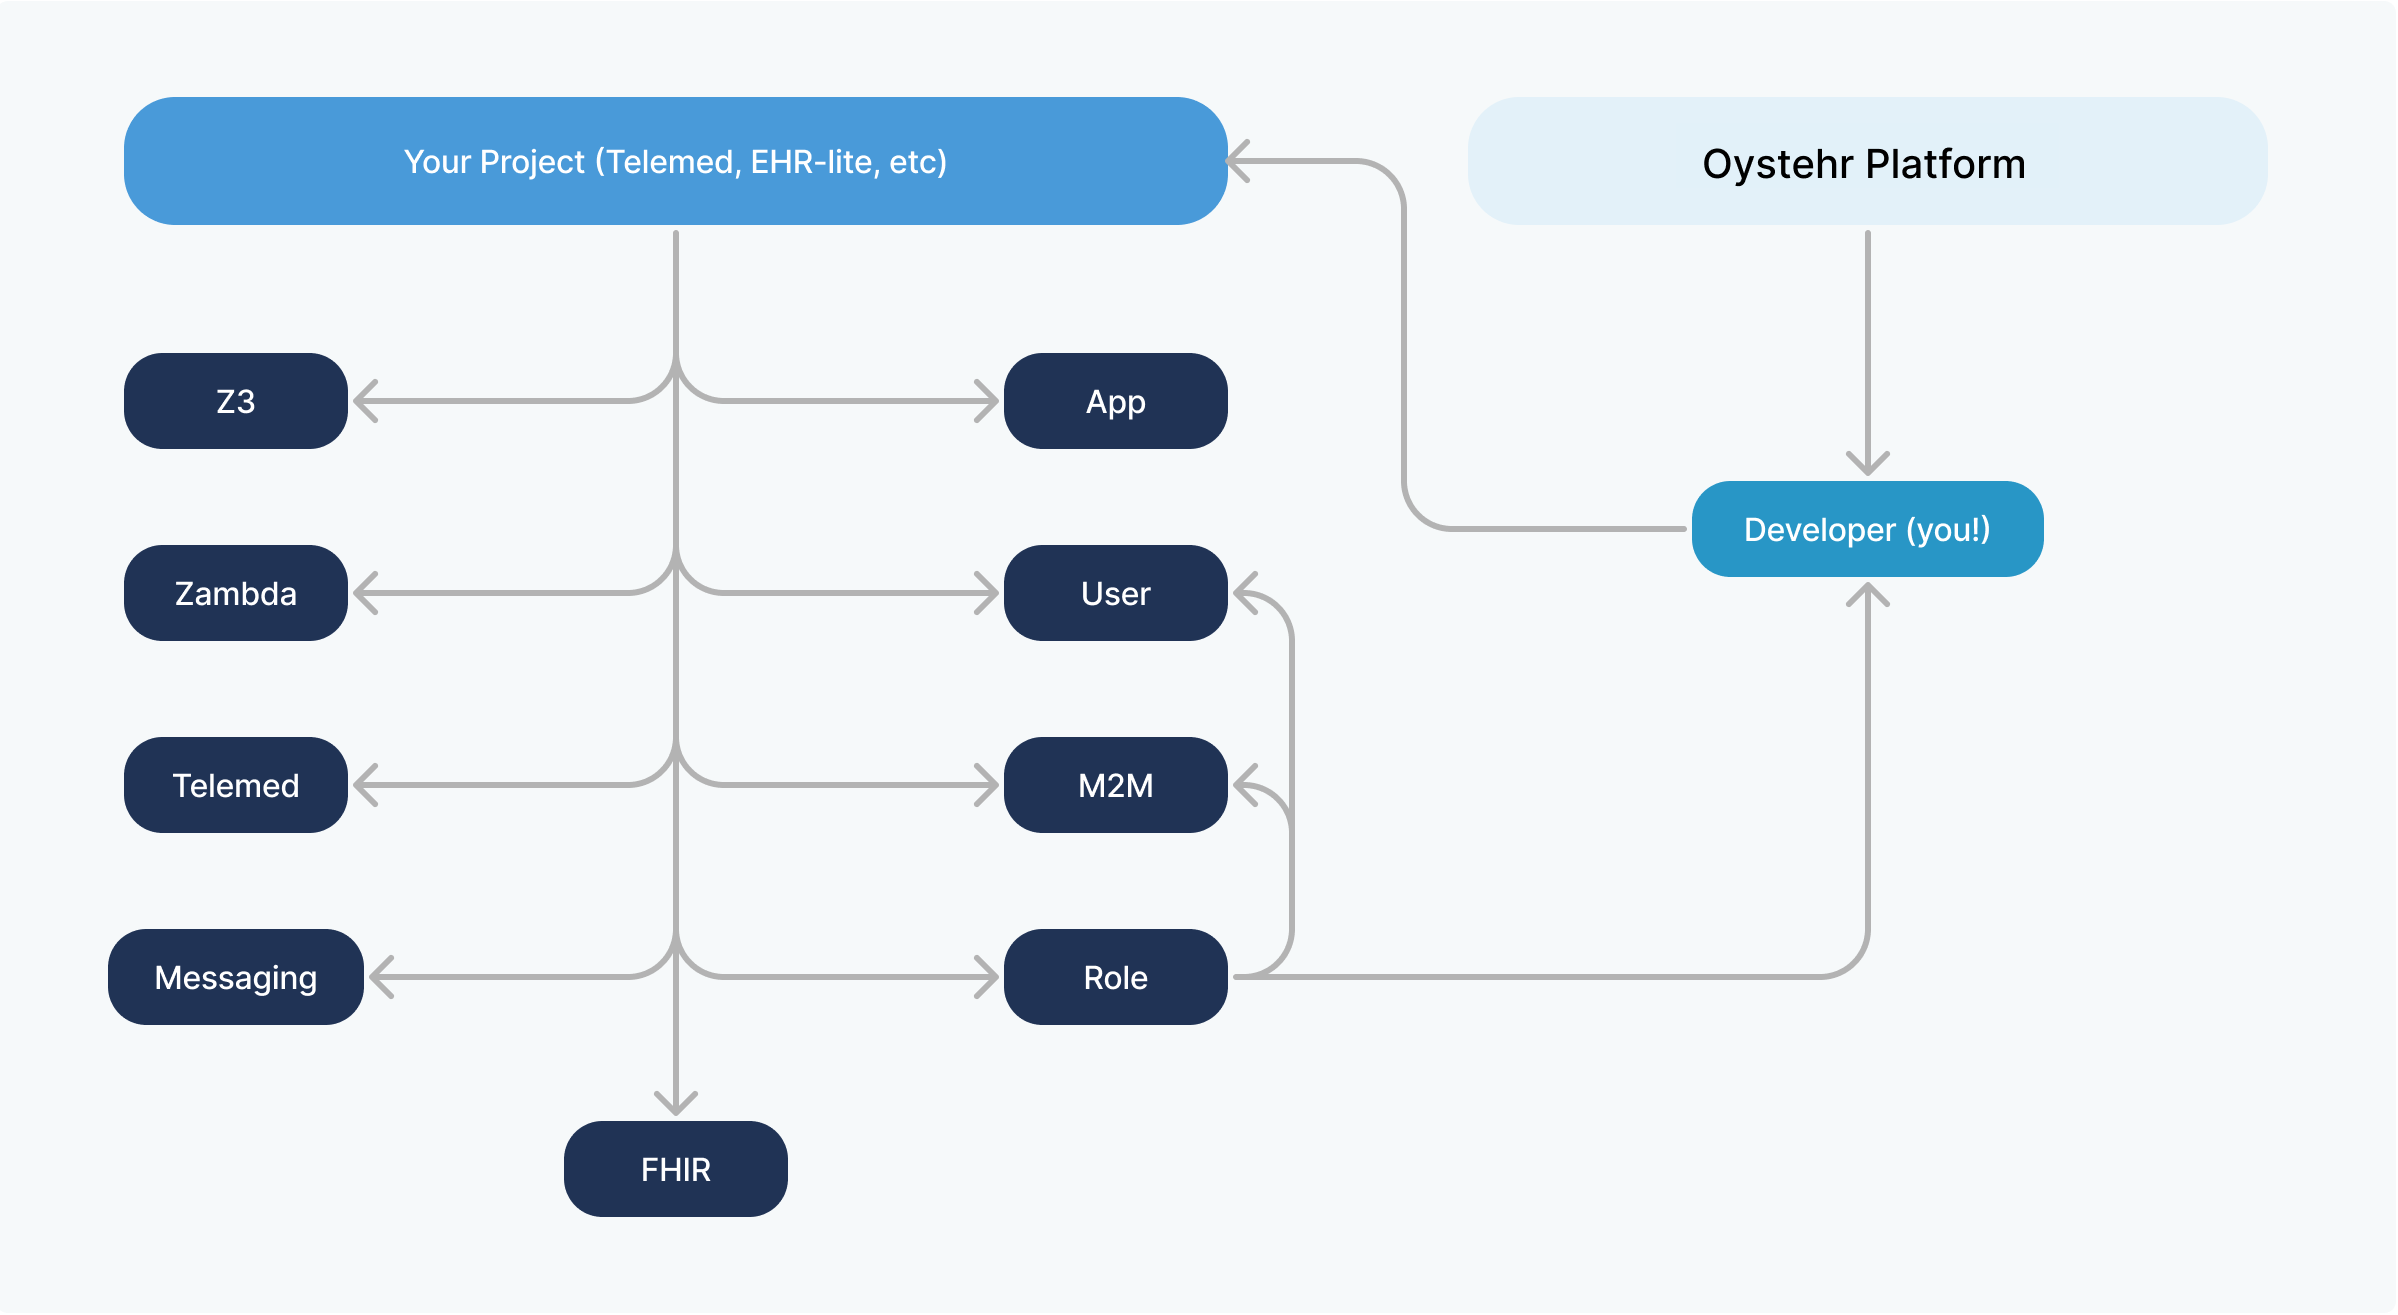
Developer accounts exist above the Project level to facilitate access to multiple Projects. Projects are completely independent from each other, having their own separate FHIR store, Applications, Users, etc. You might have separate Projects for testing, staging, and production environments.

Invite your team of Developers to some or all of your Projects, with the level of permissions in each that is appropriate for them. For example, you may give only a subset of your Developers access to your production environment, and of those, you might give some read-only access and others more substantial permissions.
Create Projects
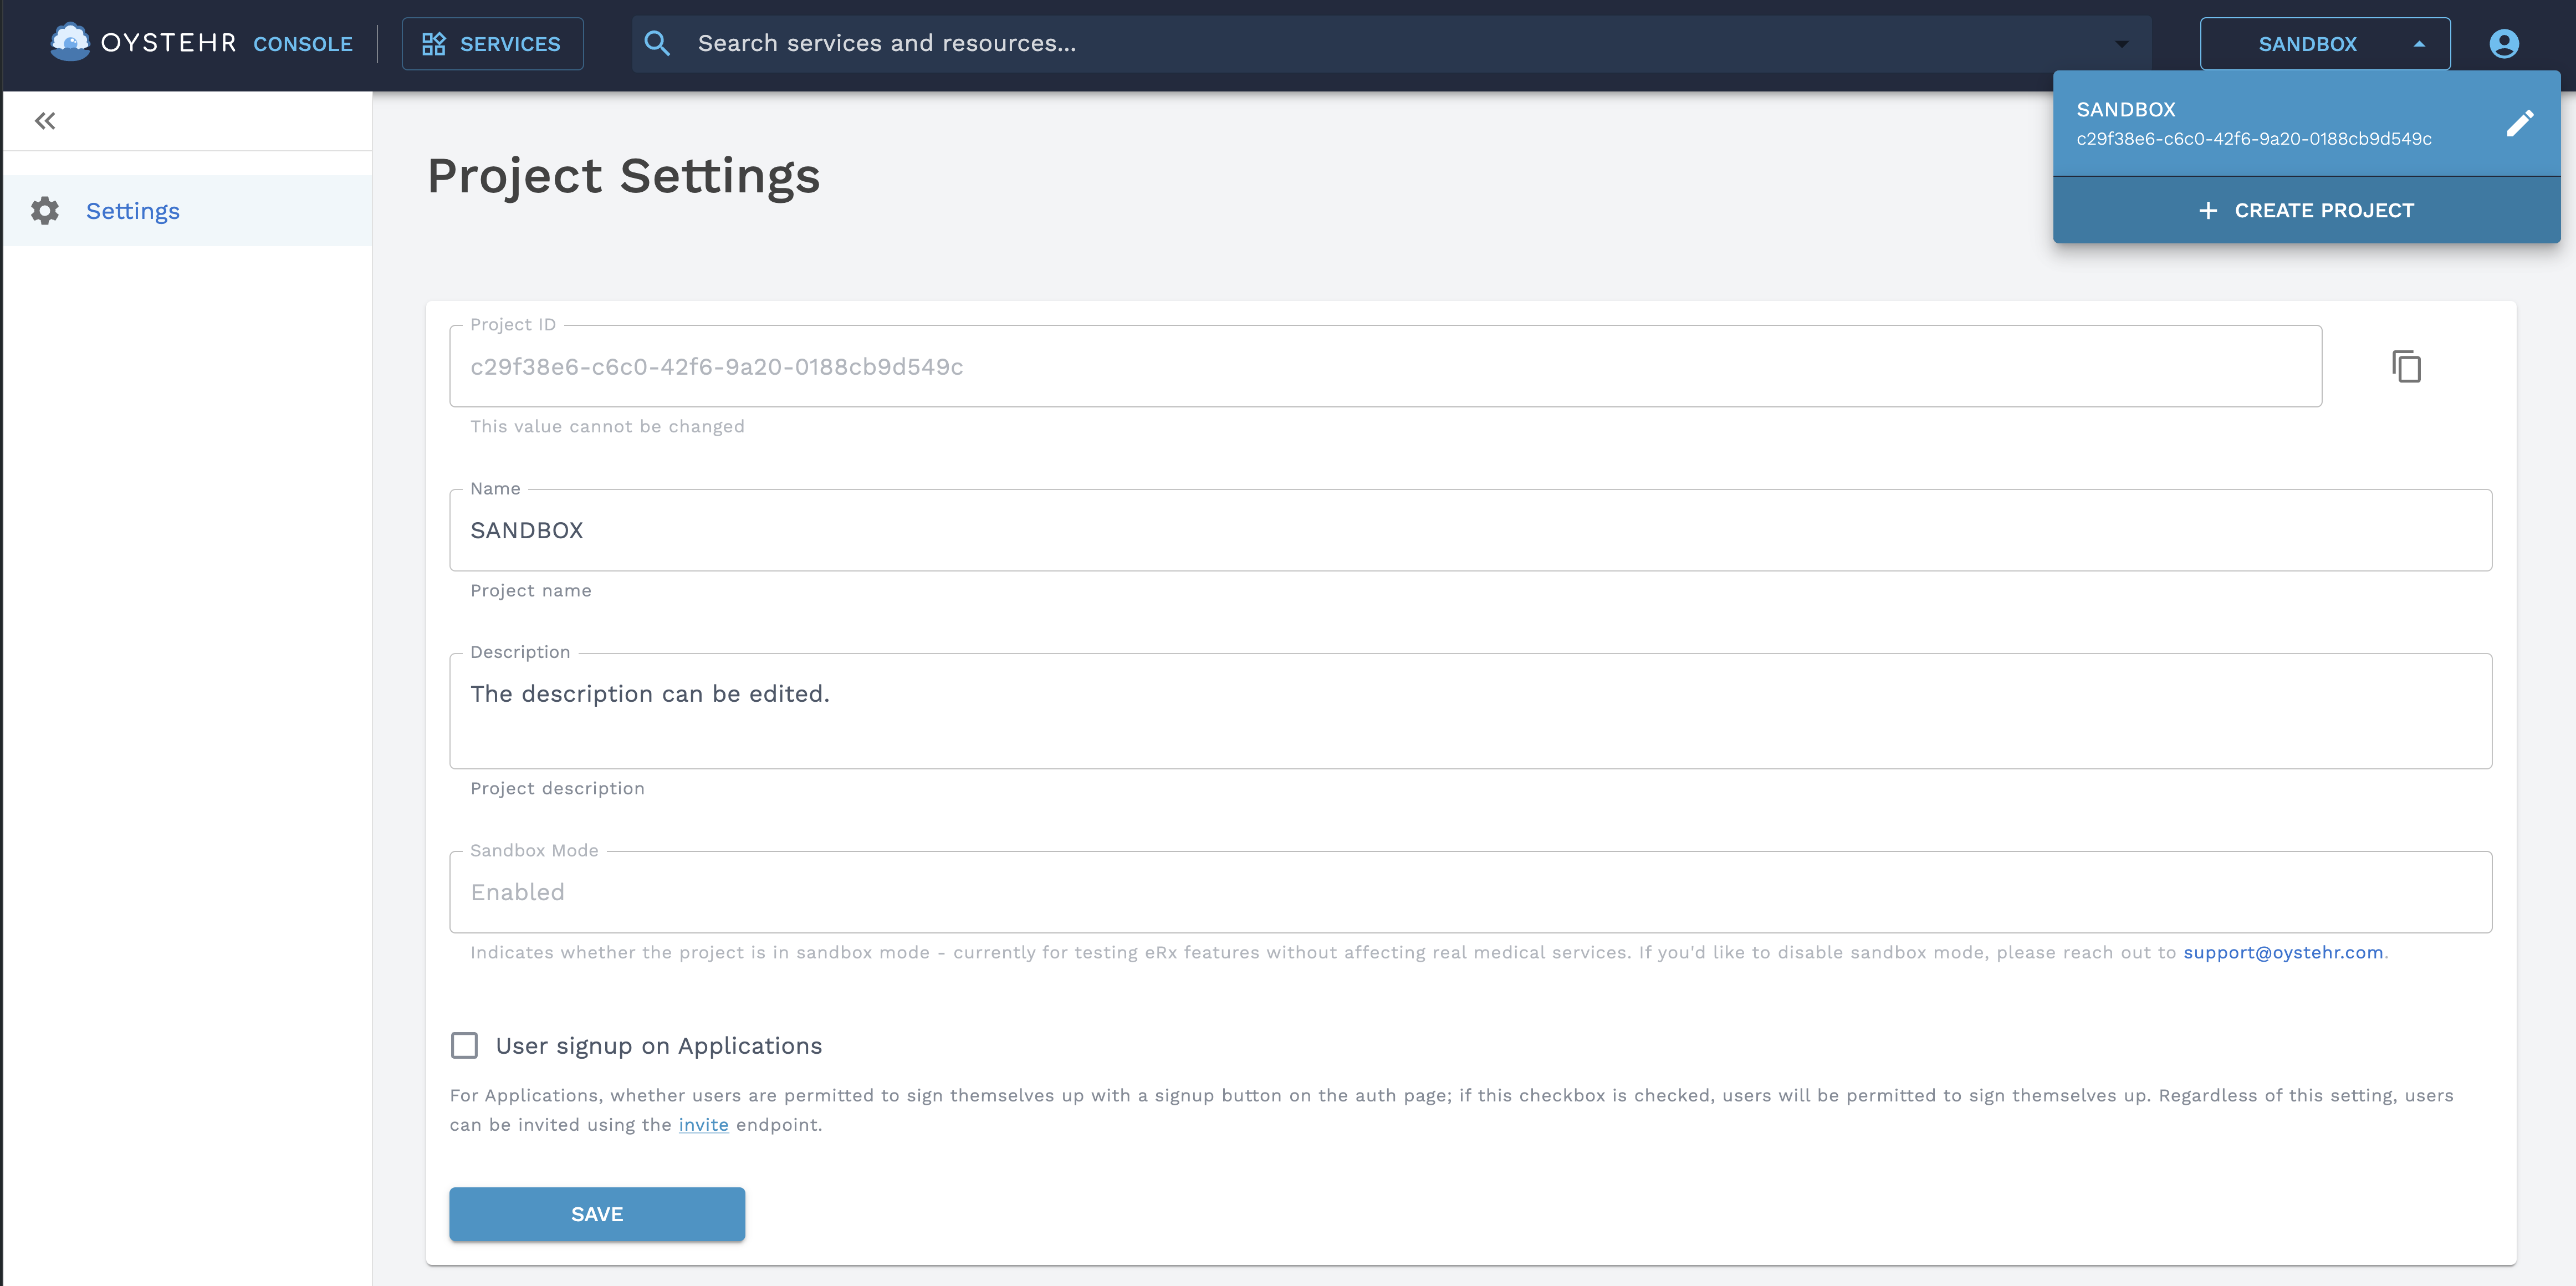
Developers can create new projects in the Developer Console (opens in a new tab) and then invite other developers to those projects. To create a new project, open the project dropdown and select the option to create a new project.
Create a new project in the Developer Console

When creating a project, these fields are required:
- Name — The name of your project. Make this something descriptive.
- FHIR Version — The FHIR version of your project.
Invite a Developer
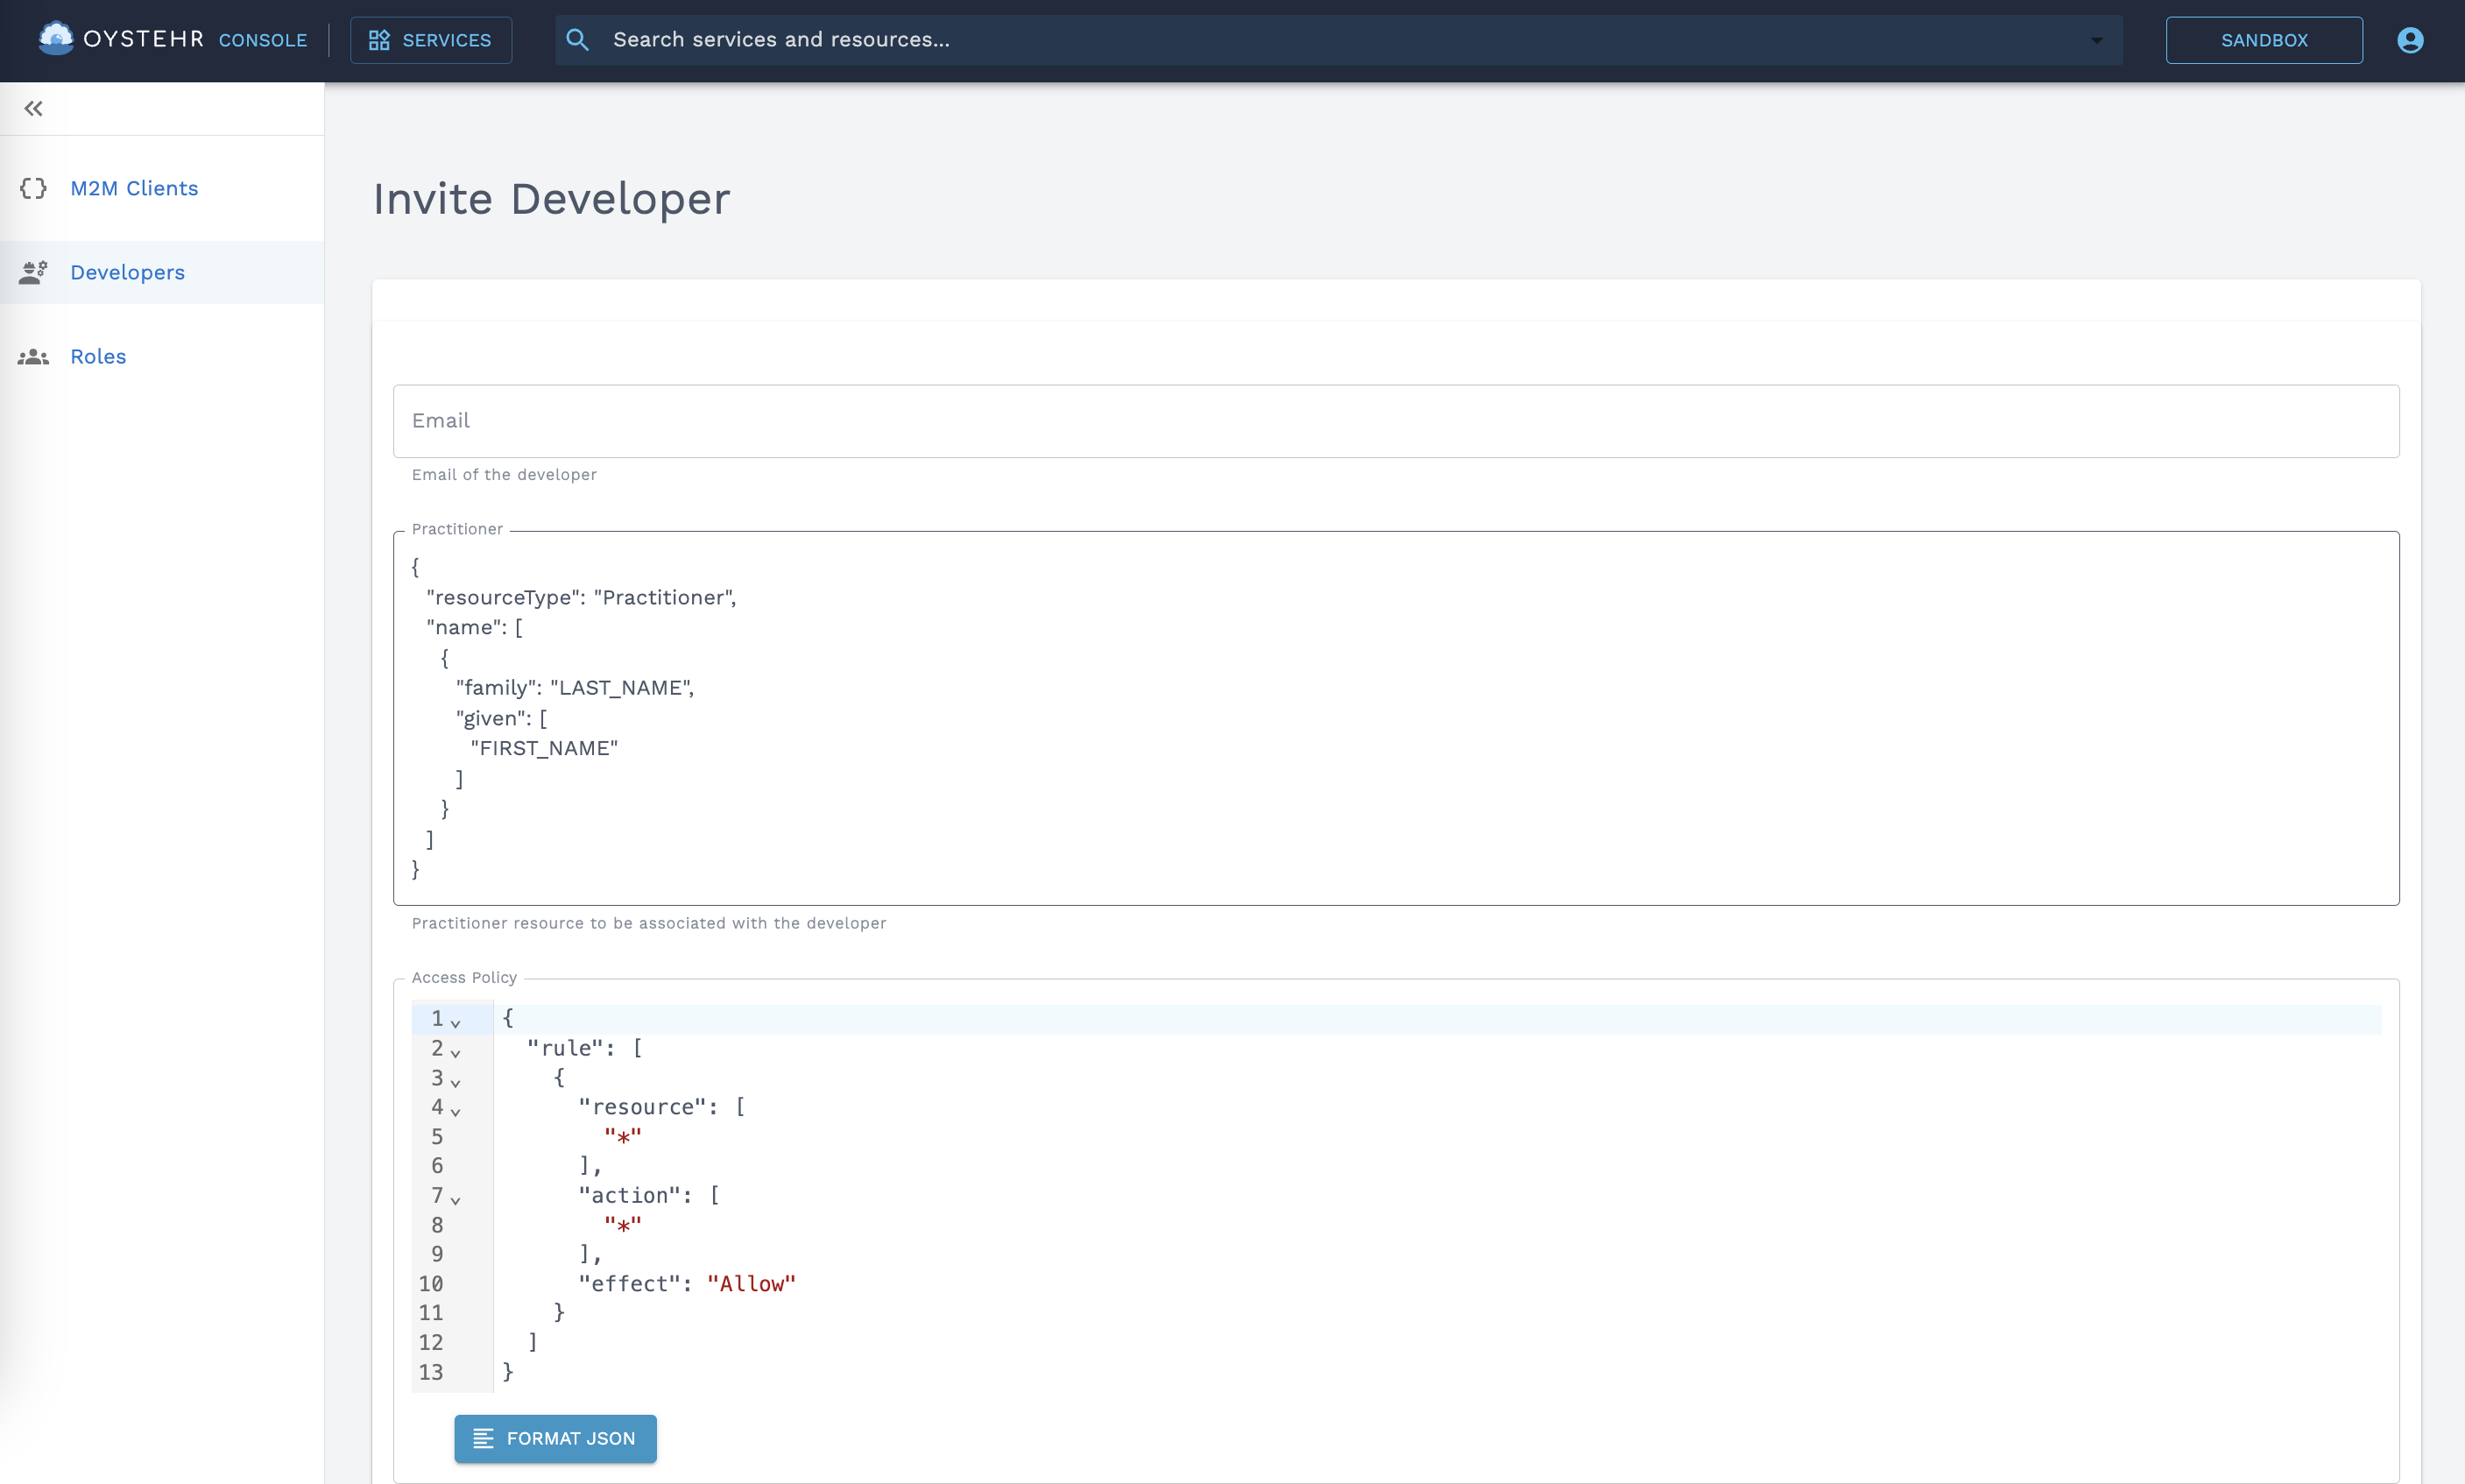
You can invite your team to your Project in the Developer Console here (opens in a new tab).
Invite a Developer from the Developer Console

When inviting a Developer, these fields are required:
- Email — The invited Developer will receive an invitation email at this address with a link prompting them to set their password.
- Practitioner — Provide a FHIR Practitioner (opens in a new tab) resource which will be created to represent the developer in the FHIR store. As the Developer creates and updates FHIR resources, Provenance resources are automatically created which credit this Developer's FHIR Profile. You can store as much or as little information about the Developer in the Practitioner resource as makes sense for your use case.
- Access Policy / Roles — Access policies grant the Developer access to the services and resources that they need. You can grant a Developer their own one-off inline access policy, or you can assign Developers to one or more Roles. Roles are a convenient way to group access policies together and assign them to multiple actors.
As a security best practice, follow the principle of least privilege (opens in a new tab) by giving the Developer account access to no more than what they need to do their job. Learn more about access policies in Oystehr.
Manage Developers
Besides inviting Developers to your Projects, you can also list, get, update, and delete Developers using the API, Typescript SDK, and Developer Console.
- Developers Page in the Developer Console (opens in a new tab).
- Developer endpoints in the API Reference (opens in a new tab).
- Oystehr Typescript SDK.
Grant Permission to Act on Developers
In order for actors to be allowed to act on Developers, they must be assigned an access policy with appropriate permissions.
Examples
Here are some examples of access policies you can use to grant permissions to act on Developers.
{
  "rule": [
    {
      "action": "*",
      "resource": "IAM:Developer:*",
      "effect": "Allow"
    }
  ]
}{
"rule": [
{
"action": ["IAM:ListAllDevelopers", "IAM:GetDeveloper"],
"resource": "IAM:Developer:*",
"effect": "Allow"
}
]
}{
"rule": [
{
"action": ["IAM:ListAllDevelopers", "IAM:GetDeveloper", "IAM:UpdateDeveloper", "IAM:InviteDeveloper"],
"resource": "IAM:Developer:*",
"effect": "Allow"
}
]
}You might give this access policy to a Developer so they can just get the configuration of their own Developer resource:
{
  "rule": [
    {
      "action": "IAM:GetDeveloper",
      "resource": "IAM:Developer:23357fe8-3368-484d-a040-a6e672d59de1",
      "effect": "Allow"
    }
  ]
}
Developer Access Policy Actions
The following table details the different actions which grant permission to interact with Developer resources.
| Service | Action | Resource Type | Description | Minimum Scope | Dependency |
|---|---|---|---|---|---|
| IAM | InviteDeveloper | Developer | Grants permission to create an invitation to join the principal project as a developer user | ||
| IAM | UpdateDeveloper | Developer | Grants permission to update a developer in the project. | ||
| IAM | GetDeveloper | Developer | Grants permission to view details of a dev user within the principal project | ||
| IAM | ListAllDevelopers | Developer | Grants permission to list all users within the principal project | * | |
| IAM | RemoveDeveloper | Developer | Grants permission to remove a developer from the project. |